
NRCG

Unit 21.

Learning Aim A : Techniques AND Applications of editing for film and television.
Research.

Straight Cuts
Task 4 : Techniques.
Cross-Cutting / Parallel Editing.
One shot is instantly changed into another shot in a different angle. One way to get from point A to point B, it continues In the same place and the same time.

Transitions: Fades + Dissolves + Washes + Wipes.
Fade :
Gradually beginning of a scene or the ending of the scene, which is achieved by opening or closing the aperture.
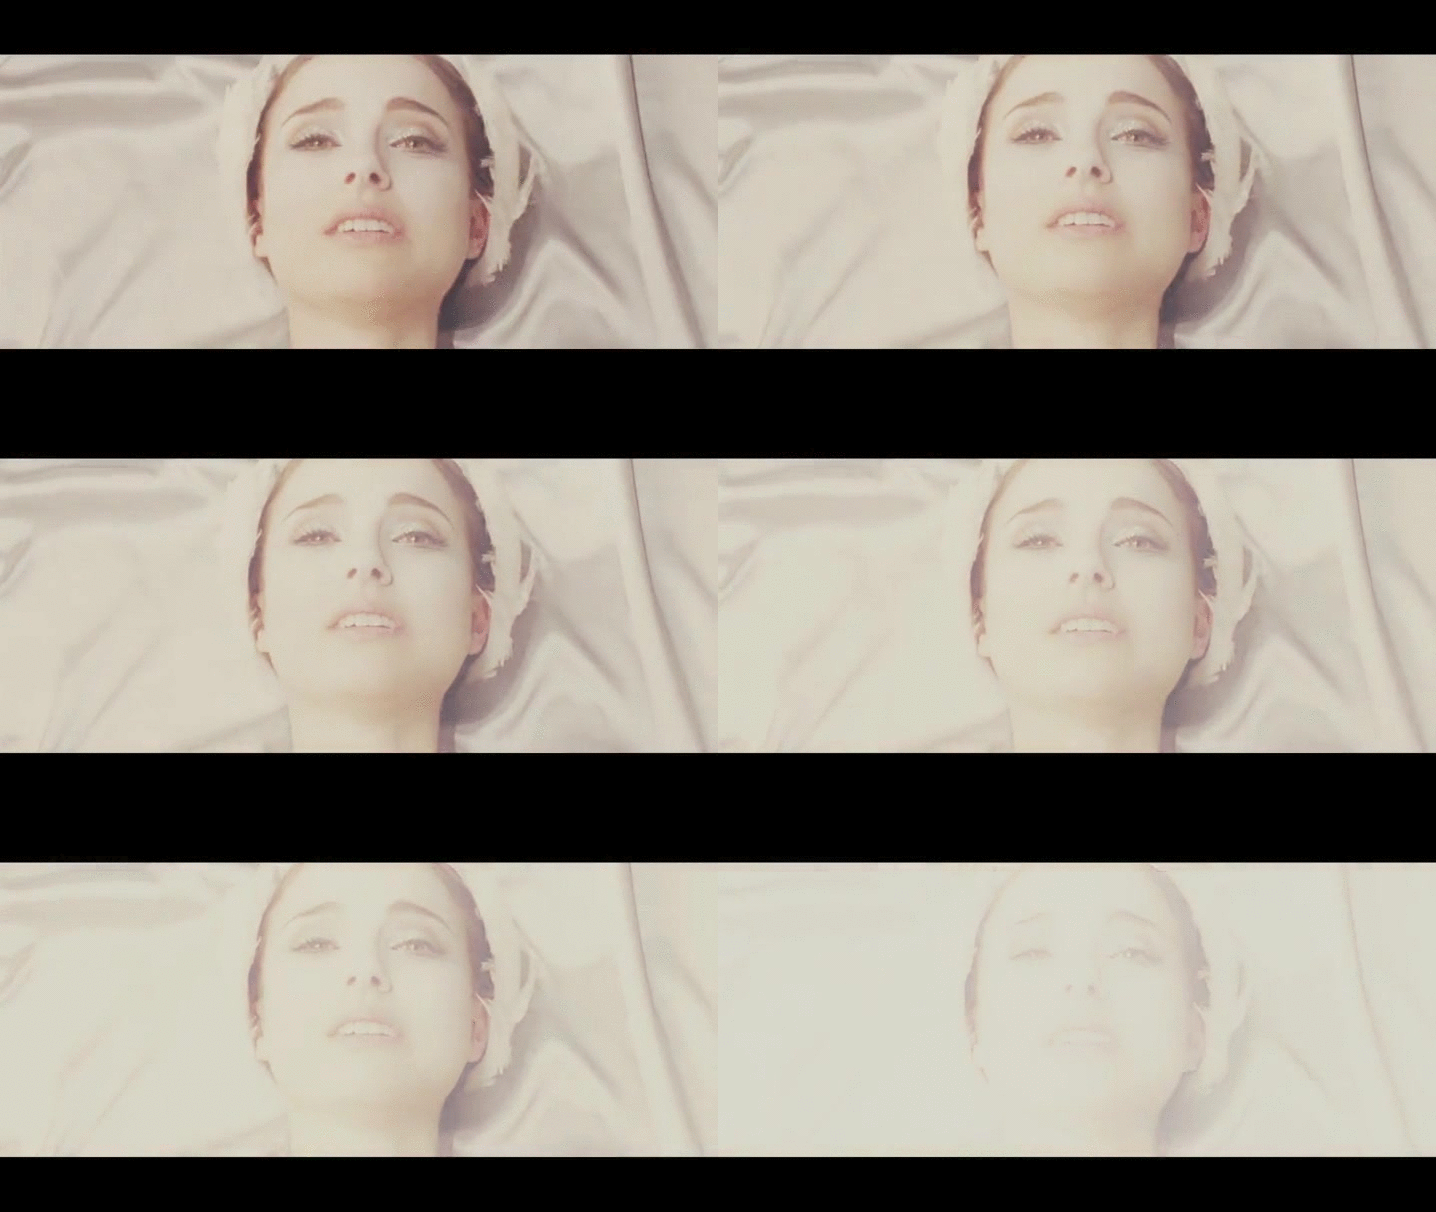
Crosscutting describes the video editing technique of switching back and forth between scenes, often giving the impression that the action occurring in different locations is unfolding at the same moment. - Google.

Elliptical Editing:
a method of film editing in which a long set of clips that are not entirely necessary for the overall narrative of the film are condensed and shortened to provide a more interesting finished video for the audience. - Google.
Dissolve:
Linking two related shots with a dissolve signals to the viewer that they belong together in a sequence and that the story remains consistent from one shot to the next. - Google


Parallel Editing:
Parallel editing is a video editing technique used in post-production in which separate scenarios are intercut together to present a storyline from multiple perspectives. - Google

Cutaway:
A cutaway shot is a supplementary shot that “cuts away” from the main action to indicate something else in the space, such as an object or location. - Google.

Washes:
A wash is essentially the same thing as a fade, except it uses any solid color rather than black. We sometimes see washes used when characters ascend to heaven or when they faint. - Google.

Quick Cuts:
It can be used to quickly convey much information, or to imply either energy or chaos.

Cut-Ins:
A cut is an abrupt, but usually trivial film transition from one sequence to another. - Google.
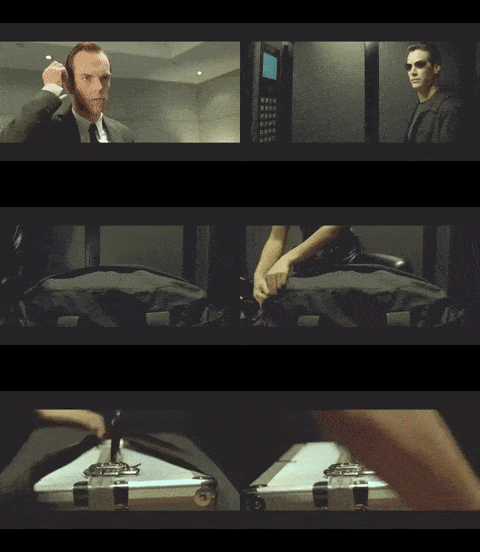
Wipes:
In filmmaking, a wipe is a type of film transition where one shot replaces another by travelling from one side of the frame to another or with a special shape.
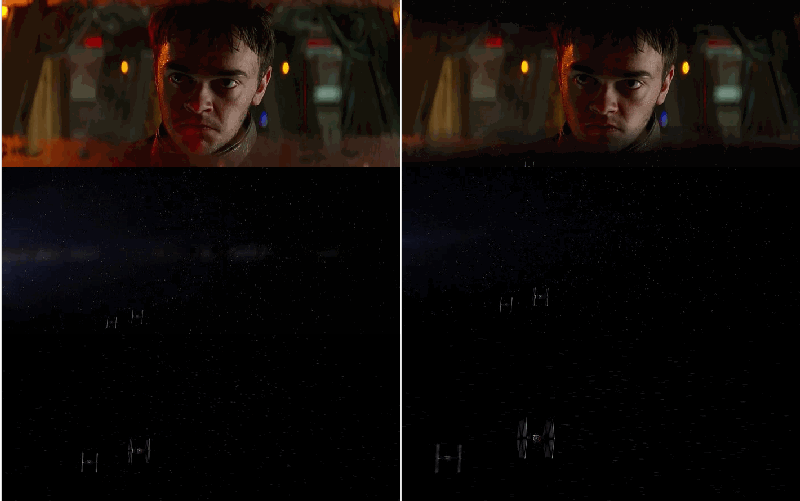
Long Takes:
Describe a setting should make viewers feel like they're in the film. Furthermore, the setting long take can also enhance action films.

L-Cuts:
Which the audio from a preceding scene carries over the image of the following scene. These cuts allow editors to have the sound or dialogue of one scene linger into the next. - Google.

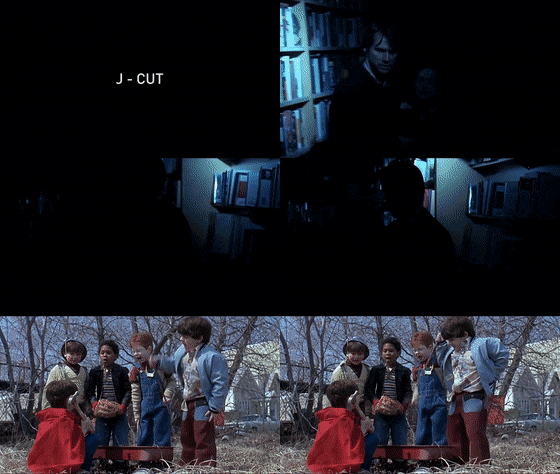
J-Cuts:
A split edit film editing technique in which the audio from a following scene overlaps the picture from the preceding scene. - Google.
Eye-line Match:
Film editing technique to indicate to the audience what a character is seeing. - Google.
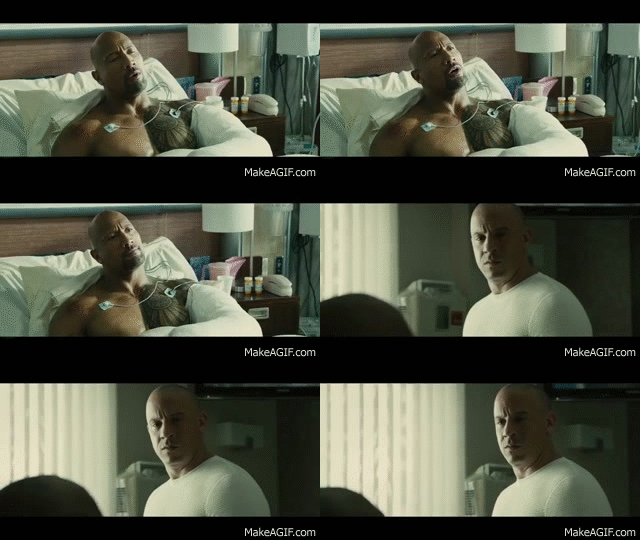
Match On Action:
An editing technique where one shot cuts cuts to another, portraying the action that is present in the first shot. It is used as a form of continuity editing which maintains a consistency of the narrative. - Google
Shot/Reverse Shot:
A film technique where one character is shown looking at another character, and then the other character is shown looking back at the first character.
Reaction Shot:
A reaction shot refers to when an action takes place on screen, and then cuts to a separate shot that allows the viewer to see the reaction to this action from other players in the scene.


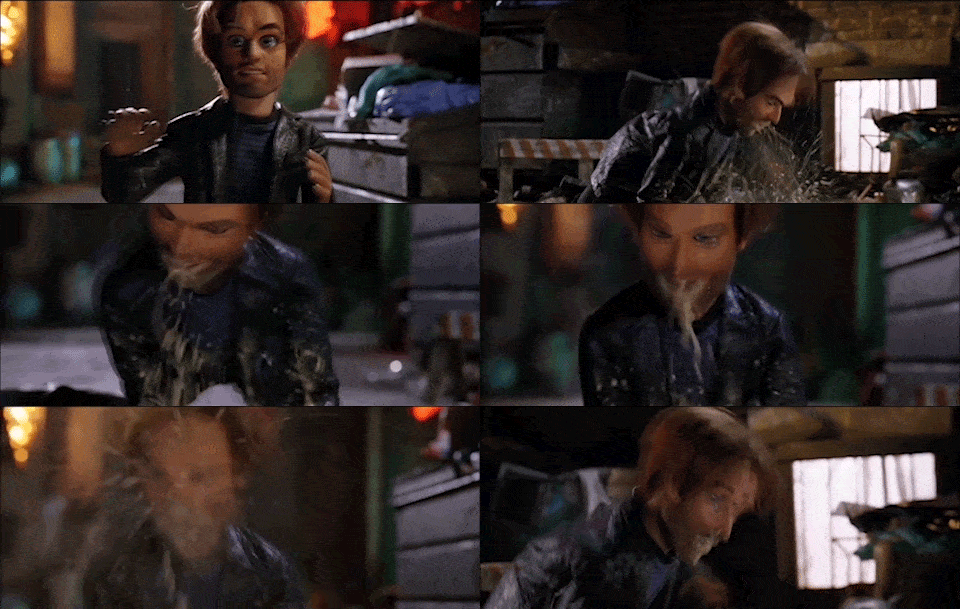
Establishing Shot:
An extreme long shot taken show a castle, which sets off the beginning of a movie.
30-Degree Rule:
The 30-degree rule is a basic film editing guideline that states the camera should move at least 30 degrees relative to the subject between successive shots of the same subject - Google.
180-Degree Rule:
When you keep your camera on one side of this imaginary line, you preserve the left/right relationship of your characters and help the audience maintain a sense of visual consistency. - Google.
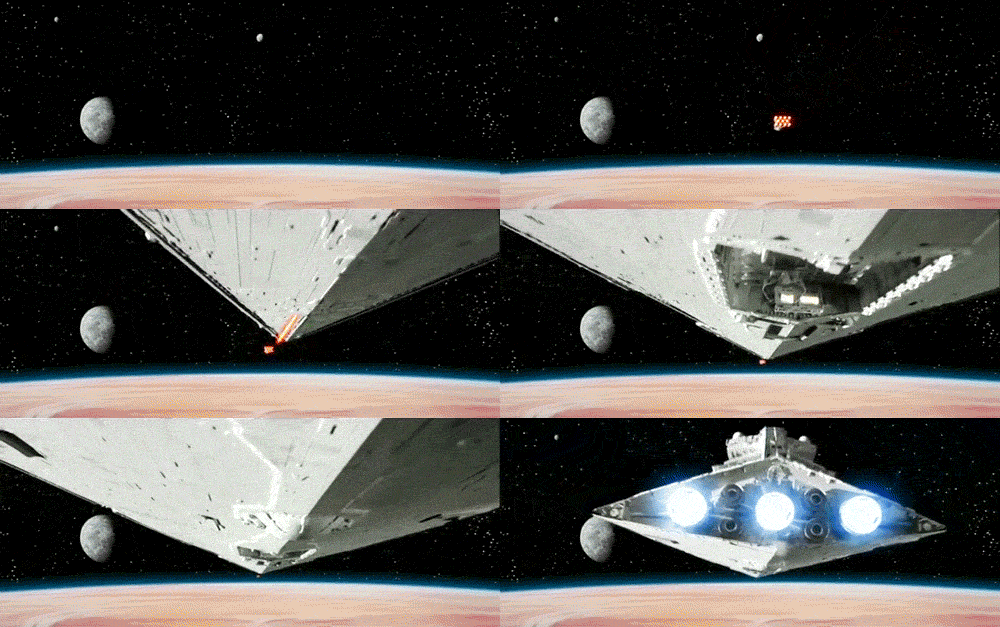


Jump Cut:
A jump cut is an editing technique that cuts between two sequential shots. In these shots, the camera position doesn't change. - Google
Graphic Match:
A graphic match (as opposed to a graphic contrast or collision) occurs when the shapes, colours and/or overall movement of two shots match in composition. - Google
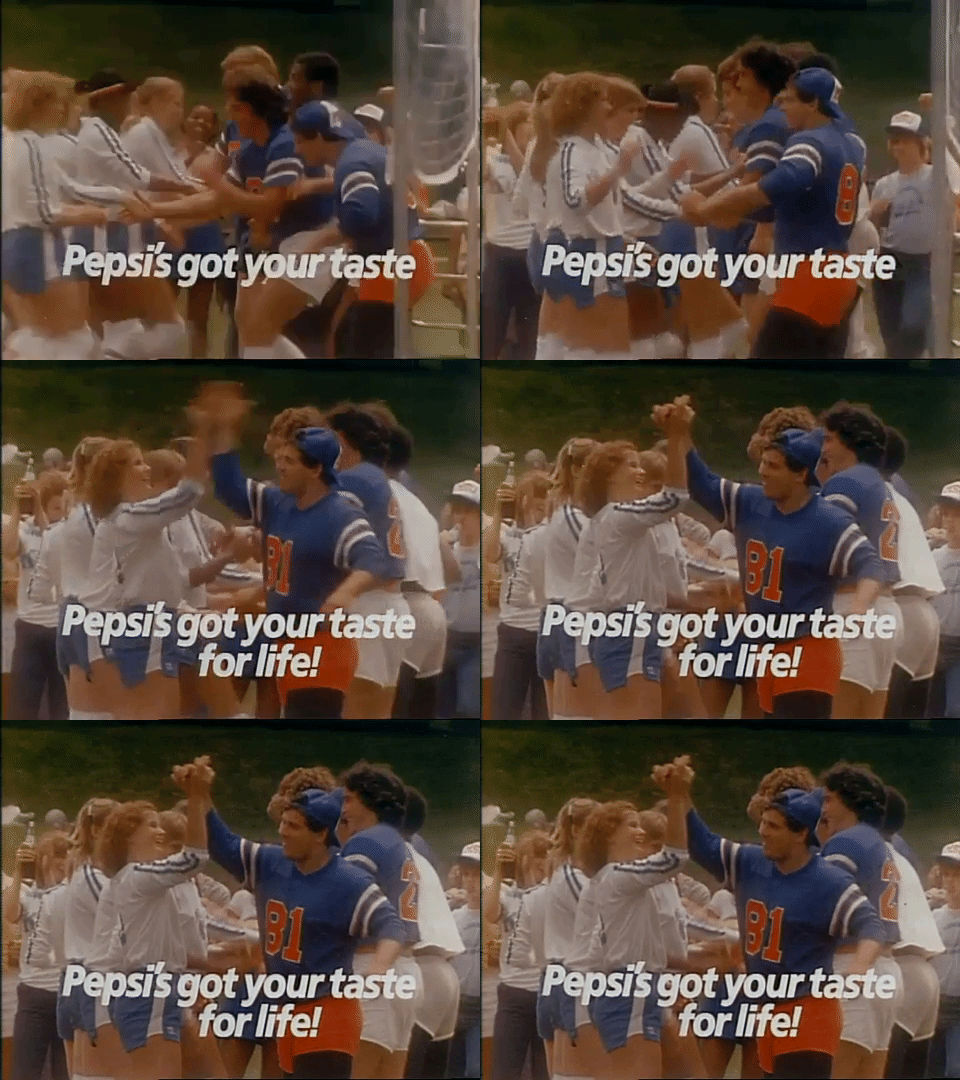
Freeze Frame:
an optical effect or technique in which a single frame of film is reprinted in a continuous series, which when shown gives the effect of a still photograph. - Google.

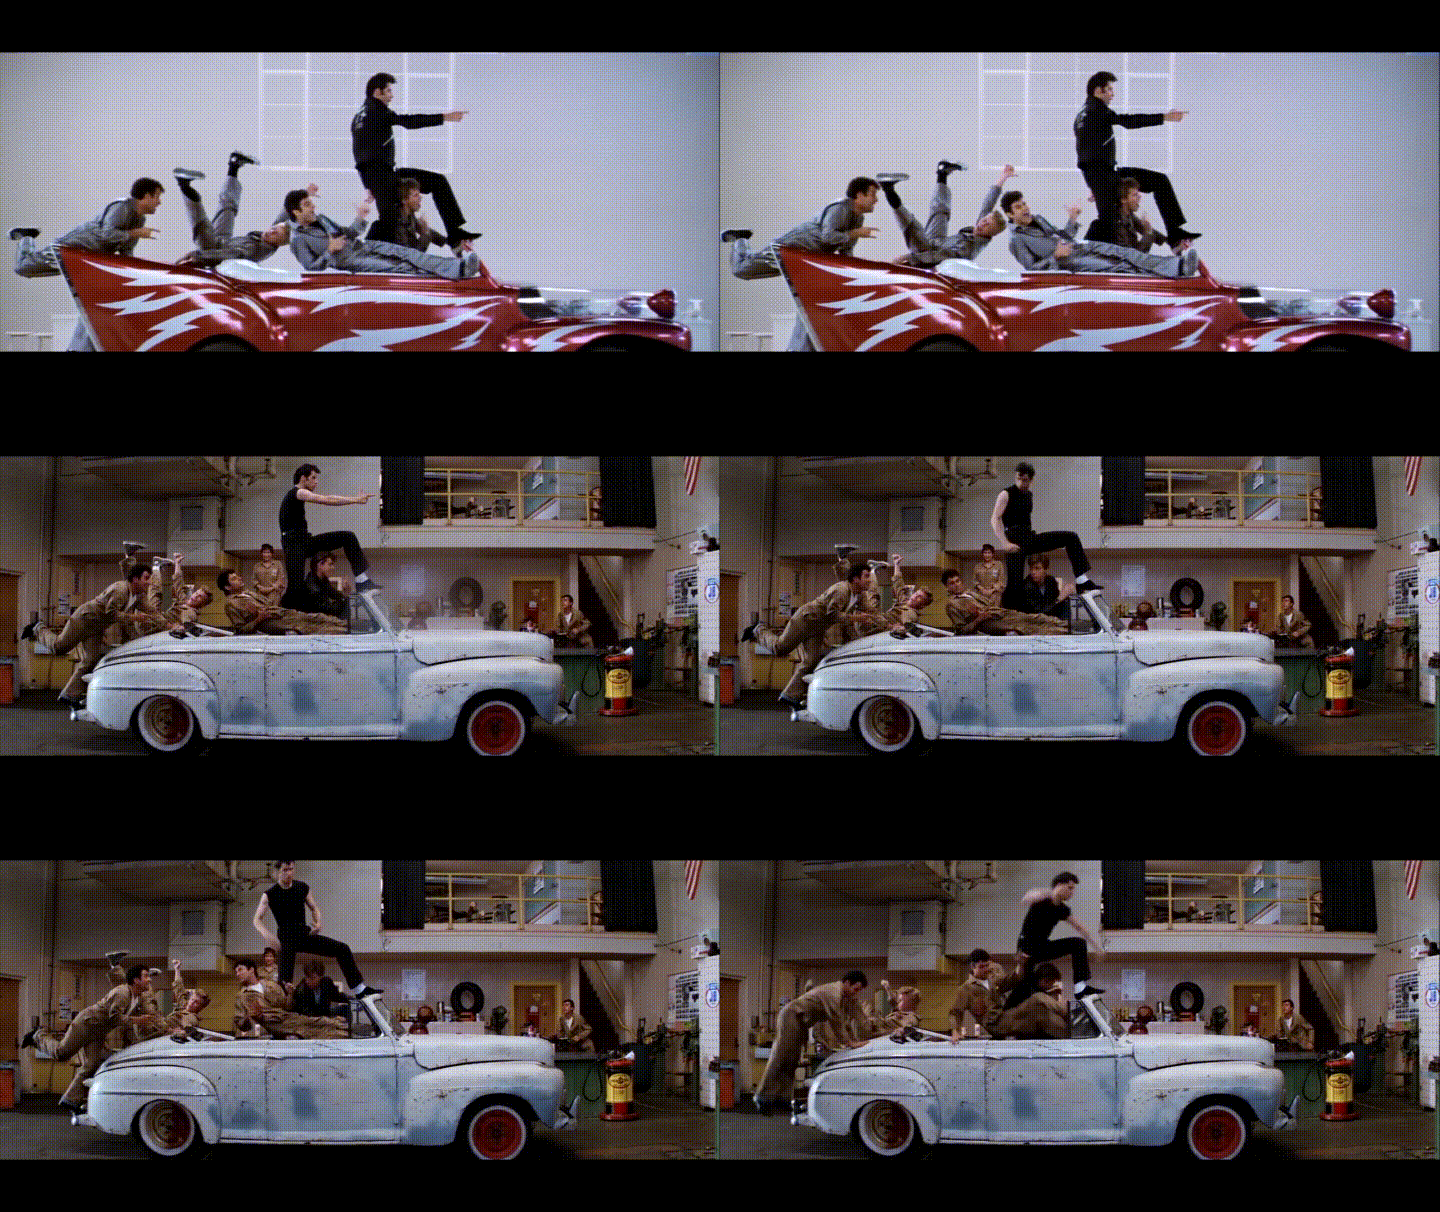
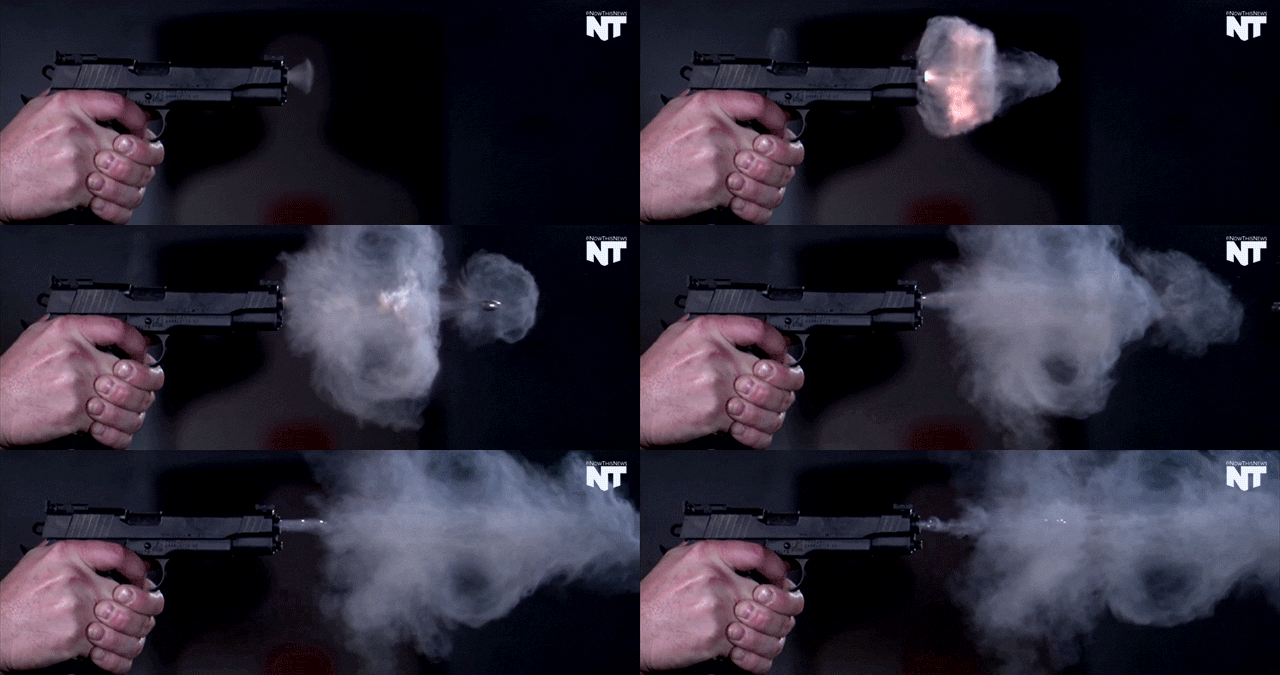
Slow Motion:
Slow-motion videos also give a variety to your shots. They are normal footage shot at a higher frame rate and is played at a slower speed.-Google.
Split Screen:
Split screen is the combination of two or more scenes films separately which appear in the same frame. - Google.

Flashback/ Flash Forward:
Flashback, in motion pictures and literature, narrative technique of interrupting the chronological sequence of events to interject events of earlier occurrence.
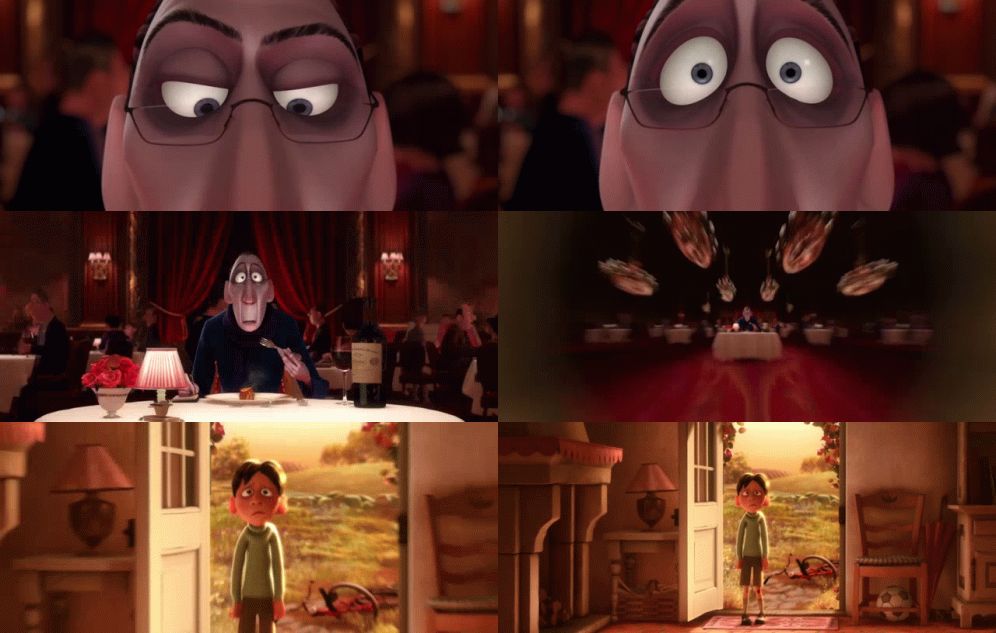
Flashforward:
A device in the narrative of a motion picture, novel, etc., by which a future event or scene is inserted into the chronological structure of the work. an event or scene so inserted.

*Majority Of the Info is from Google*.
Task 5: Purposes.
1) Manipulating the sense of time (linear / non-linear narratives):
Probably using Flashback / Flash-forward filming technique, as these techniques control the sense of time. Where they remember the past of a scene. For example : Jumanji: Welcome to the Jungle, as they use a flashback to tell the audience what happened to the forest.
Elliptical Editing :- this is a technique which condenses and shorten a final scene for a better ending for the audience, so in the next episode it has continuity and understanding.
2) Controlling the perception of space to create a logical and believable space between characters/objects not sharing the same shot/angle:
They could use Cross - Cutting and Parallel Editing, were these techniques show to the audience a sense of realism as they will show an action scene in one shot and then swiftly switches to another shot that links to the pervious shot. For example : The Dark Knight, they show Batman trying to search for Joker and then the shot switches to the Joker in a different area but both in the same time.
3) Controlling the rhythm and pace of to control the flow of the production:
Quick Cuts :- this technique is used for quite fidgety scenes, making the scene more chaotic whilst watching it. Making a certain scene more realistic.
4) Creating a narrative through motivation (motivated editing):
Cut Ins :- As they make each scene more fluid without breaking any continuity. As one scene they can have one of the subjects doing something and then swiftly goes into another character doing a completely different motion or act.
5) Creating a sense of drama through the withholding of information:
Split Screen :- They can use this for two scenes, were they can make both of the characters show there facial expressions fully, by adding them on the same frame, giving it more of a dramatic scene.
6) Embracing continuity between different shots/angles:
Match On Action :- this technique is used for continuity as it gives the scene more angles to watch, making the scene more free and not dull.
Straight Cuts, as they use this to get form one point to another by still using continuity. As they will film one shot and then swiftly changes to another camera shot but the continuity is still attached.
Shot/Reversed Shot :- this is normally used for two subjects talking to each other in a cafe or a busy street. This technique embraces continuity quite often as it gives more of a realistic and making the audience think that the two subjects are actually talking to each other at the same time.
7) Engaging the viewer through suspense and causing an audience reaction.
Slow Motion :- this slows down time which can create a sense of suspense and makes the audience question the next scene.
Quick Cuts :- this makes the audience prepare on what's coming next as they use different shots but all of them are quite fast. Giving the scene more of an eagerness to reveal what's about to happen for the audience.
Cutaway :- this makes the scene more slow and removes the attention from the main character or subject and slowly records an object instead.
8) Form meaning by juxtaposing elements within editing and creating a sense of personal connection and empathy with a character:
Reaction Shot :- This is good as it gives the audience another perspective on what the other subject is looking at, if one of the main characters are injured or dying, they will use this reaction shot technique for more of a sympathy for the main character.
Flash Back :- They can use this for empathy and more of a connection as it goes back into a subjects past, giving the audience more of a backstory on the character. For example : Venom - Let there be Carnage. The main villain talked about how he was mistreated by everyone, and they showed him his backstory.

Learning Aim B : Continuity / Non-Continuity
Task 6 : Continuity - Experiment
Task 7: Continuity Sequence.
Story Board
Script Writing
Shooting Script.
Continuity Sequence (My Own)
Development Portfolio.
The importance for edited sequences is too push out fluidity and makes scenes more understandable, which creates meaning towards the audience. For me, the context I went for is a character walking towards the computer rooms to use the computers. The genre for this, is usually based around teenagers, as nothing special was for any age specifically.
Furthermore, the camera techniques for continuity is usually something for quick fluid shots, like tracking and steadicam, have both camera shots and can guarantee continuity. However, the camera shots/editing techniques for non-continuity is probably quick cuts, establishing as it creates non-continuity scenes, as establishing shot begins a movie then swiftly changes into a different scene.
What I wanted to achieve for this continuity sequence is having a good 30 second clip, which is very fluid and making sure I avoid breaking continuity.
However, the disadvantage and advantages were mixed, as certain areas I found it difficult to edit certain clips, as many of them were not in sync and were not following the continuity rule, which led to certain clips jump cutting. As I followed some of the rules of continuity but failed in the aspects of the actor doing the same motion again and again. Nonetheless, the advantages I faced is the ideas I gathered whilst doing my storyboard, as I had many shots and good transitions, as luckily I had many ideas not didn't lack on the imaginations.
The things I would change if I had the opportunity to, is filming in a different location and having a different storyline, as many students were filming in the exact same place. So, probably someone waking up, would be a better option.
Task 8: Non-Continuity Experiment.
(Terminator Trailer)
Task 9: Non-Continuity Sequence.
Story Board


Shooting Script.
Script Writing.
Non-Continuity Sequence.(My Own)
Promotional Advert of a product.
Development Portfolio.
For my Non-Continuity Sequence, I decided to produce and create a Promotional Advert of a Product. Which I filmed my shoes. The advantages and disadvantages were quite even and fair. As for my advantages, I found it easy to put different clips in different places as it's not continuity. Furthermore, I found it easy filming the shoe, and the things that helped me is, having a good camera shots of my shoes. As it fully helped me edit easily. Nonetheless, the disadvantage that I faced is probably, the background of the shoes. As I filmed this in the green room, were the background wasn't good and unsuitable, as I was able to capture the background when had to film my shoes in every angle which showed a lot of the floor and the background which ruined the whole 'professional' feeling for the advert.
If I was able to redo it, I will improve the product that I will be filming at, also having a better location for my product, as my location/background let me down tremendously. So, having a better location will help. Furthermore, the camera angles that I used are quite decent, however I believe that I should've improved the whole camera shots, as certain camera shots that I took, were alright and not properly meaningful. So, having someone walking with the shoes can improve my advert. This links with another problem, as my music for the advert is quite basic, as next time I will try improve my sounds, as I will probably add more sounds on top of each other, creating more a exciting feeling and professionalism.

Learning Aim C : Horror Trailer
Shooting Script
Script Writing
Narrative Breakdown
Video Log Sheet
Story Board


.jpeg)
Final Horror Trailer
Evaluation
Throughout the months producing this horror trailer, I've encountered many difficult decisions across my filming and editing process. Which I needed to accomplish the specific requirements for my trailer to become a horror-like theme.The first creative decision I decided to do, is the imagination and planning for my trailer, as I used Premier Pro to edit my trailer, as I came across many creative ideas, which made my trailer improve and gave me more experience using Premier Pro, as it gave me new ideas that I didn't even think about. Another creative decisions I've decided was to replace the filming location for my horror trailer, as many of my peers were using the exact same location, as it won't make my horror trailer stand out to the rest. So, I decided to film near the school, I filmed in the Star - which is a pub in Sid cup. The reason why I changed my location at the last minute is because the new location looked very old-fashioned. Which will fit the typical setting of a horror trailer. However, the disadvantage of this being my new filming location is the actors starring in my horror trailer. As there was complications and lack of communication among the actors, were they didn't get notified to wear something 'creepy' or scary, which overall made my horror trailer less scarier. At the same time, It was able to hide the antagonist face. Which was more easier as it made my trailer more interesting as the antagonist is unknown.
Which links with my horror sub-genre being supernatural. This overall, made me quite technical as the clips were not scary at all, so I was relying on my editing skills to come in handy. Which I did correctly, as this is when the appropriate tools and techniques come in, as when I was filming my clips for my trailer, I've faced many disadvantages as when I filmed on Friday, It was very sunny and the weather condition wasn't suitable for my horror trailer. However, I decided to film it anyways, and the raw clips were not suitable to become scenes for my trailer. This is were the tools and the suitable techniques come I handy, were I had to decide which editing technique to use for my horror trailer as I need to use the correct technique to create meaning for the audience. For example: Quick Cuts, were suitable as Quick Cuts were used for quick action and creating a sense of tension, as I got influenced and inspired by a real horror trailer called 'It Follows'. Where this trailer has quite good and rapid scenes. also adding onto this, I used Eye-Line Match technique which was able to give the audience a sense of participation whilst watching my trailer as I used the exact same spot and location on were the friend got attacked by the entity, then I transitioned it into a POV Shot then re-creating the scene again but in a POV shot. And I added an Adjustment Layer for my raw clips which overall changed the filter of all my raw clips making them more darker and gloomier. As this helped me as it improved the scenes tremendously. Another problem was the clips I filmed, were I filmed many different clips that wasn't in my storyboard, which led to me overthinking and contemplating whether to replace my other clips into these other clips. After all that, I slightly changed my storyboard and the ending of it. As many ideas came flooding in, as I had to change many scenes. Nonetheless, the clips that I took were quite long, as I plan to film a lot of clips that wasn't 2 seconds long or second long, as I wanted to film the clips as long as I want, which of course, became an advantage as certain clips looked better at the ending than the beginning, which led me to cut and separate different clips into other new clips. As the cutting of my raw clips helped me tremendously, as I had to cut one scene and make it into another new scene, which at the end became quite nice as it fit well with the storyline. So, altogether my storyline suited the location and the antagonist as well, as my storyline was about 3 friends chilling and playing around near a haunted house (The Sun - Pub), then they slowly uncover a forbidden entity that was trapped for decades inside the house, but somehow the friends activated the spirit to travel into a stranger, which then started to haunt and try kill all the friends. It lures the victims with a scream, then kills them with a cold stare, which slowly leads the victims into a suicidal mindset. As my captions says 'you can't escape' and 'reveal the insanity'.
Furthermore, I used different filters like distorted, Glitch etc... As these filters improved my scenes, as it made my scenes somewhat scarier, which links with my sub-genre being supernatural, as this sub-genre I used is one of my favorite horror genres, as it creates a sense of unknown and fear. As this sub-genre loves to include glitches and distortions as the codes and conventions for supernatural is a person being possessed by the devil or any evil entity or the afterlife. Which I executed correctly, as I decided to make one of my actors possessed by a forgotten entity. Which overall met the requirements of the codes and conventions for this genre. Which links with another codes and conventions of horror, as many horror movies have the fear of the unknown, which I did for my trailer, as the trailer name is called 'The Forgotten Entity', which means this entity was forgotten long ago and is unknown to the new world. As overall I strictly followed the rules of the codes and conventions for horror to make sure my trailer fits with the whole genre of horror. For this to become more of a supernatural feeling, is the effectiveness of my editing decisions. As throughout my editing process I found and discovered many features of Premier Pro, as It led me to have great ideas, as which I mentioned the Adjustment Layer before, were it helped me improve the quality of all my scenes. As I changed the color, saturation, brightness etc... All these features brought life into my clips, making them more darker and suitable for a horror film. So, deciding to use the adjustment layer was a good decision for me. Also, I found using 2 second blackouts interesting as it gave my scenes more realism and impact. As one of my scenes are quite eerie and somewhat quiet, then suddenly drops into a blackout with intense eerie music which made my scenes more scarier. And builds up the rest of my scenes perfectly. Also, having the perfect placing for my clips, improved and made my story less confusing for my audience. Also having additional filters from my teacher, helped my trailer come alive. As I used filters like distortions and glitches which improved one of my clips were the antagonist quickly turns around, which I decided to put a glitch when the antagonist turns his head, revealing the evil spirit trying to come out, just like The Ring. As my plan was to use the glitches and distortions when the actors are close to the entity which is influenced heavily by the famous horror character The Slender man. Which makes the screen glitch or distorted whenever you go near him. Which overall helped my trailer. So, overall having the right editing decisions improved my trailer.
Nonetheless, the relevance of horror genre clips was very crucial for my trailer to fall into the horror category, as many of my clips were not horror like clips, as they included a lot of comedy which wasn't suitable for my brief. As I needed to improve whether this clip is good enough to make it to my trailer. As many horror trailers have quite dark and fast pace motion. Whereas my clips
were lacking pace and fear. However, I had to make it work, were I decided to use different camera techniques to emphasize the impact of the scene. As for example: Tracking, helped me a lot as many horror trailers have very fast pace clips, which the tracking covered all of that. As I filmed three of the friends running were I frame them in a tracking shot. As this made my scene more fast paced and impactful, and I transitioned it into another shot but into a wide angle. As this led my scenes more fast pace and fluid. Also I used a lot of jump scares, as these techniques are very useful for fear, as this helped me improve my story as the clip was about my antagonist twitching and then quickly turns around showing a distress face, which was one of my jump scares. So, being able to following the specific horror like clips helped bring life to my trailer. Furthermore, whilst editing and filming my trailer, I had an idea on which audience to target as many of my clips are quite good for adults and teenagers, as many horror fans are usually adults or teenagers possibly 15-36 years old. Also having to meet the brief requirements are very useful as my clips and trailer needed to fit the appropriate target audience, as my clips needed to be fast pace and somewhat action as many teenagers like fast pace and good action as well. For example: Avengers, they include a lot of action and fight scenes. Which I implemented for my horror trailer. Furthermore, talking about the brief, my opinion on meeting the requirement for the brief is quite balanced, as many of the requirements were easily met. However, the locations were quite disappointing were the brief stated that I should have at least 4 - 5 locations for my trailer, as I was only able to film in two locations which is very disappointing which led to my trailer becoming very limited to the audience imagination. So, having another two more locations would've helped and boosted my trailer even more. Overall, the success of my trailer was slowly met at the end. As I faced many difficulties and strengths whilst doing this trailer. Where my intended purpose was to bring out a different feeling for supernatural, as I was planning to film it in an abandoned area and have the antagonist follow the three friends around. However, luckily I improvised and filmed it near the pub. Overall, it was a good experience, and led me to practice and improve my editing skills.

Before

After

Before

BEFORE

AFTER

AFTER
Here are some captions I used.


Film TITLE

Editing Process

The Brief
